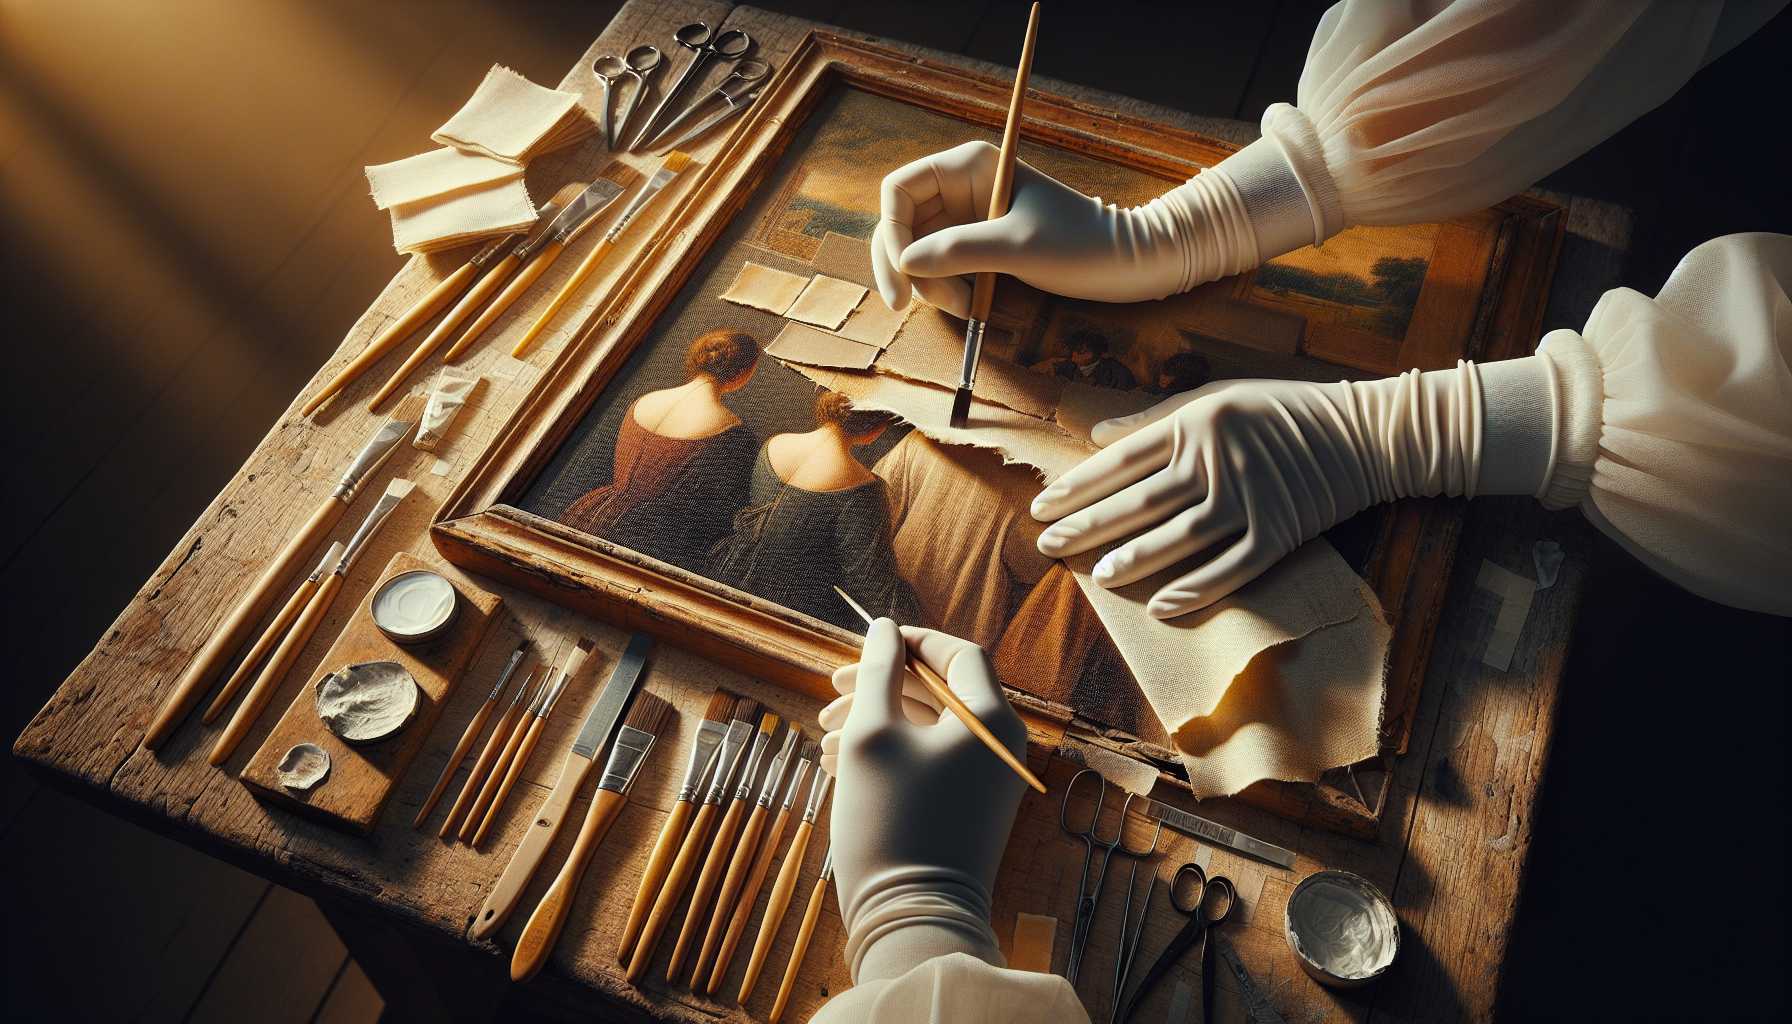
Have you ever found a tear in your beloved painting? Don’t lose heart! I’ve had the privilege of helping countless art enthusiasts revive their valued canvas pieces, and now, I offer you a step-by-step guide through this restorative process.
Dealing with Canvas Damage
Before we plunge into the act of repair, it’s crucial to understand what we’re up against. Damage to canvas usually appears in a variety of forms:
– Tiny tears and punctures
– Substantial rips
– Water-induced destruction
– Deterioration due to ageing
Imagine canvas as being similar to a cherished piece of attire – with careful maintenance and prompt damage control, it can endure for many delightful years.
The Must-Have Materials for Repair
Here are the essentials you should include in your repair toolkit:
– Acid-free adhesive
– Material for canvas patches
– Brush with a fine-tipped bristles
– A neat workspace
– Ample lighting
– Gentle cleaning products
Pro tip: Always test these materials on a small, inconspicuous region of the canvas first!
A Step-by-Step Process of Repair
1. Clean the Damaged Spot
Begin with delicately cleaning around the area of damage. As I often tell my clients, dirt can obstruct successful adhesion.
2. Organize the Tear
Align the torn edges with care. I might sometimes apply tweezers for superior accuracy – think of it as piecing together a miniature jigsaw!
3. Stick on the Patch
For tears that extend beyond an inch:
– Cut out a patch that slightly surpasses the size of the tear
– Apply adhesive with precision
– Gently press down and hold in place
– Leave it undisturbed to dry
Tips to Deter Future Damage
Here are some preventive measures to safeguard against future harm:
– Maintain balanced humidity levels
– Keep away from direct rays of the sun
– Manage with clean, dry hands
– Store in appropriate conditions when not being showcased
Recognizing When Professional Assistance is Needed
Seek out expert help in these circumstances:
– Precious or antique pieces
– Complexly torn artwork
– Historic pieces of art
– Severe damage from water exposure
Wrapping Up
Bear in mind that speedy action is key to repairing canvas damage. It’s heartening to witness the remarkable transformations that can take place with timely repair work, including those that initially seem unsalvageable.
Should you have any questions related to repairing your canvas, do not hesitate to make contact – assisting fellow art connoisseurs is always a pleasure!