Ever felt an urge to channel your inner Jackson Pollock? Paint splatter art or action painting offers a messy, yet exhilarating, avenue for free-wheeling creative expression.
With this guide designed for novices, we’ll embark on an exciting lesson into the fundamentals of this art form. We’ll go through acquiring the right materials all the way to creating your very first work of art. Now, let’s delve into the enchanting realm of action painting!
Understanding Paint Splatter Art
Originating in the 1940s, paint splatter art, also known as action painting, gained popularity through artists like Jackson Pollock who popularized methods of dripping and splashing paint onto the canvas.
The allure of this art form lies in its unpredictability. The objective isn’t to paint a flawless flower or picturesque landscape. Rather, it involves producing abstract patterns driven by movement and spontaneity.
Instead of striving for pixel-perfect execution, this form of art values the artistic process. Each spray or drip contributes to a unique narrative.
Gathering Essential Supplies for Paint Splatter Art
The Basics
Embarking on your paint splatter journey doesn’t necessitate lavish art supplies. Here’s your starter kit:
- Acrylic paints in a range of colors
- Canvas or thick paper
- Protective plastic drop cloths
- Art-friendly old clothes or an apron
- Assorted sizes of paintbrushes
- Paper cups or containers for mixing
- Water
- Paper towels
Bonus Tools for Extra Creativity
If you have an appetite for experimentation, these supplementary tools might pique your interest:
- Spray bottles
- Sponges
- Palette knives
- Sticks or dowels
- Toothbrushes
- Squeeze bottles
Organizing Your Workspace
Selecting an Appropriate Site
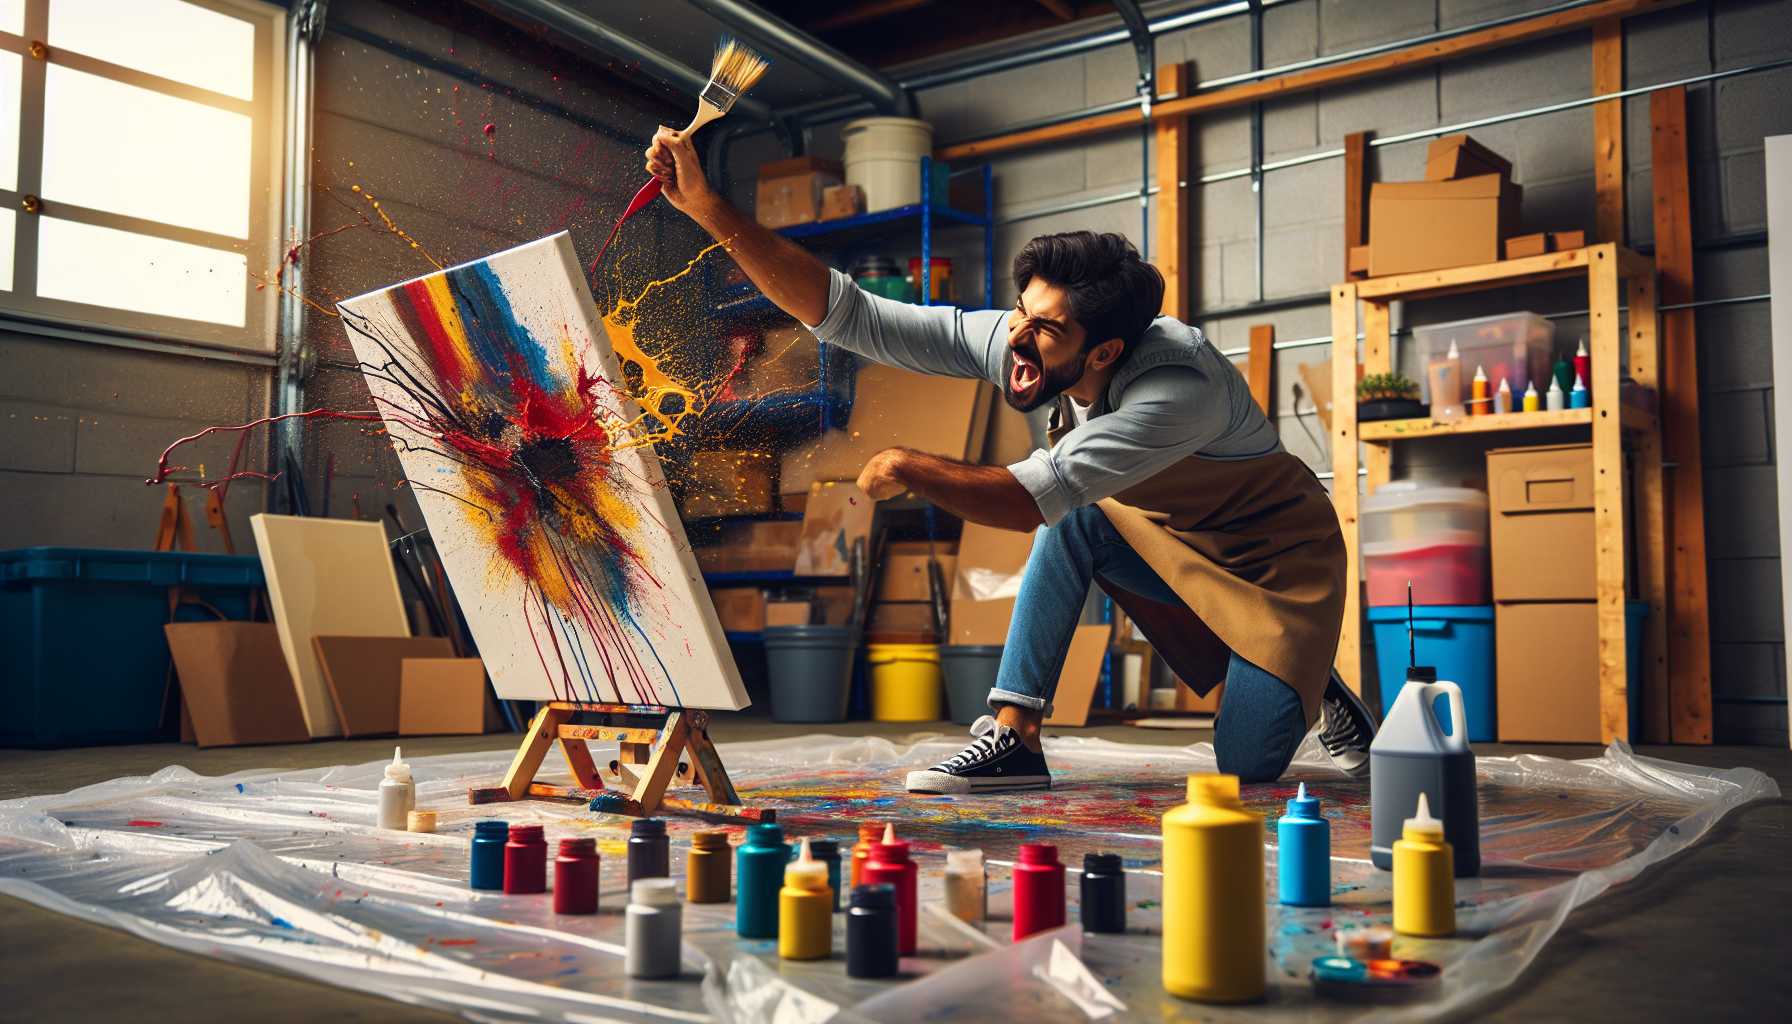
Choose a spot where a little disorder is acceptable. A garage, basement, or outdoor space could fit the bill. Keep clear of carpeted areas or places with valuable furniture in the vicinity.
Ensure your workspace is well-ventilated, aiding faster drying of the paint and keeping fumes at bay.
Shielding Your Surroundings
Spread plastic drop cloths all around to protect floors, walls, and immovable furniture. Beware, paint has a knack for traveling unexpectedly far!
Make sure the protective plastic is securely taped to prevent it from moving as you get lost in your creative process.
Preparing Your Canvas
Position your canvas flat on the safeguarded floor. Although some artists prefer to work with a vertical arrangement against a wall, remember, different placements create distinctive effects.
As a novice, start with a smaller canvas – an 11×14 inch or 16×20 inch canvas is ideal for beginners.
Mastering Basic Paint Splatter Techniques
Embracing the Classic Drip Approach
This method, made iconic by Jackson Pollock, involves dipping your brush into diluted paint, holding it above the canvas, and allowing gravity to play its role.
Move your hand in a variety of directions and experiment with drip lengths and drop size by varying the height of your brush over the canvas.
Trying the Flick Method
Load your brush with paint, hold it horizontally over the canvas, and using your wrist, flick paint across the canvas surface.
This technique results in stunning arcs and scattered points. However, practice the motion before adding paint to your canvas.
Experimenting with the Splatter Brush Method
Coat an old toothbrush in paint and run your finger across the bristles towards yourself, creating a fine spray of miniature dots.
Perfect for adding texture and peppering empty spaces, different brush sizes can create diverse effects.
Step-by-Step Guide for Novices
Step 1: Settling on Your Palette
Assemble 3-4 harmonious colors to begin your journey. You can always expand your palette later.
Factor in color temperature: warm shades like reds, oranges, and yellows impart energy while cool colors like blues, greens, and purples contribute a calming effect.
Step 2: Diluting Your Paint
Thin your paint with a dash of water until it reaches a consistency resembling heavy cream. Neither too thick (which prevents drips) nor too thin (that appears weak and watery).
Turbocharge your confidence by initially testing each paint on scrap paper, understanding the behavior and consistency of each color.
Step 3: Setting the Stage with Light Colors
Start your masterpiece with your brightest colors. Yellow and white are ideal as foundation layers since they create a beautiful effect peeking through darker hues.
Work quickly while your paint is still wet, enabling colors to meld naturally at their juncture.
Step 4: Introducing Medium Tones
Next, incorporate your medium-toned colors to the mix. Blues, greens, and oranges usually work well at this stage.
Make use of varying techniques, alternating between drips in some parts and splatters in others, for visual intrigue.
Step 5: Wrapping Up with Dark Colors
Wrap up with dark hues such as black, deep blue, or dark red. Used sparingly, they introduce a dramatic flair and depth to your art piece.
Step 6: Let It Dry
Resist rushing this stage and allow your painting to dry fully. With acrylic paint, this will typically take several hours.
Bear in mind, wet paint can blur if tampered with prematurely.
Common Pitfalls to Avoid
Over-Analysis Paralysis
Remember: Action painting is about spontaneity, not detailed planning. Allow your instincts to lead the way.
If you find yourself committed to a splash, just go for it! You can always introduce more paint later.
Working with Thick Paint
Acrylic paint that’s too dense doesn’t create satisfying drips or splatters. Instead, it just plops onto the canvas, denying you any fascinating effects.
Always slightly dilute your paint to achieve the desired consistency. It’s a good rule of thumb to test it on a piece of scrap material first.
Drowning in Color
Incorporating more colors doesn’t always equate to enhanced artwork. Too many competing shades can culminate in a haphazard, murky result.
Keep things simple at the start, gaining mastery over a select few colors before broadening your palette.
Neglecting Composition
Yes, even abstract art demands balance. Take a step back from time to time to take a broader view of your artwork.
Ensure the captivating elements are evenly scattered across the canvas to achieve a pleasing visual flow.
Hints for Splendid Outcomes
Layering Your Work
Construct your painting in stages. Each layer compounds depth and complexity to your masterpiece.
By letting sections of your canvas peek through from previous layers, you can create an appealing sense of dynamism and movement.
Mixing Up Your Tools
Don’t restrict yourself to paintbrushes alone. Experiment with a variety of tools to produce unique textures and effects.
Take a look around your kitchen or craft stash. You might be surprised by the fascinating textures ordinary items can create.
Balancing Spontaneity and Control
While embracing chaos is part of the experience, it’s key to maintain some level of control. Think of your approach as structured spontaneity.
Practicing your techniques on a testing surface first can boost your confidence and control, setting you up for success with your masterpiece.
Documenting Your Journey
Maintain a visual record of your artwork from start to finish by clicking photographs. This will serve as a handy reference, helping to replicate successful techniques in future.
You might even stumble upon “happy accidents” worth repeating!
Finding Your Muse
Learning from the Greats
Turn to the internet or your art books, and study the works of Jackson Pollock and others. Pay attention to how they balanced colors and achieved a unique rhythm.
Noteworthy painters like Helen Frankenthaler and Willem de Kooning approached action painting differently and could also provide valuable inspiration.
Exploring Thematic Inspirations
Consider seasonal themes inspired by relevant color palettes – such as spring greens, autumn oranges, or winter blues.
An abstract theme doesn’t immediately imply a lack of meaning. Let your emotions or even music guide your painting strokes.
Playing with Sizes
Test your hand at different scales. Attempt miniature paintings on postcards or take a shot at larger-than-life pieces on huge canvases.
Different canvas sizes demand different techniques and varying energy levels.
Finishing Touches and Exhibiting Your Art
Brushing Up Your Painting
Once dry, closely examine your painting to see if there are any unwelcome dribbles or spots. If needed, carefully remove dried paint.
But remember, some imperfections actually inject character. Avoid over-fixing your impulsive artwork.
Adding Final Flourishes
Contemplate adding small details using a precise brush. A couple of strategic strokes can beautifully unify the piece.
This isn’t a mandatory rule; only add what genuinely enhances the final piece.
Safeguarding Your Artwork
Protect your finished work with an acrylic sealer. This guards against dust and fading.
For best results, apply several light coats rather than a single heavy application.
Wrapping Up
Paint splatter art is your gateway to artistic freedom. Ideal for beginners, there’s no “wrong” way to do it.
Remember that every renowned artist began as a beginner. Don’t fret if your initial painting doesn’t resemble a Pollock masterpiece – and that’s absolutely okay.
The satisfaction lies in the process. Revel in the feel of paint in motion, the auditory delight of it hitting the canvas, and the enchantment of watching colors blend in unpredictable ways.
But above all, remember to have fun! Art should ignite joy, not stress.
So, gather up your supplies and start your adventure with action painting today. It’s time to summon the inner artist that’s poised to make an exciting splash!