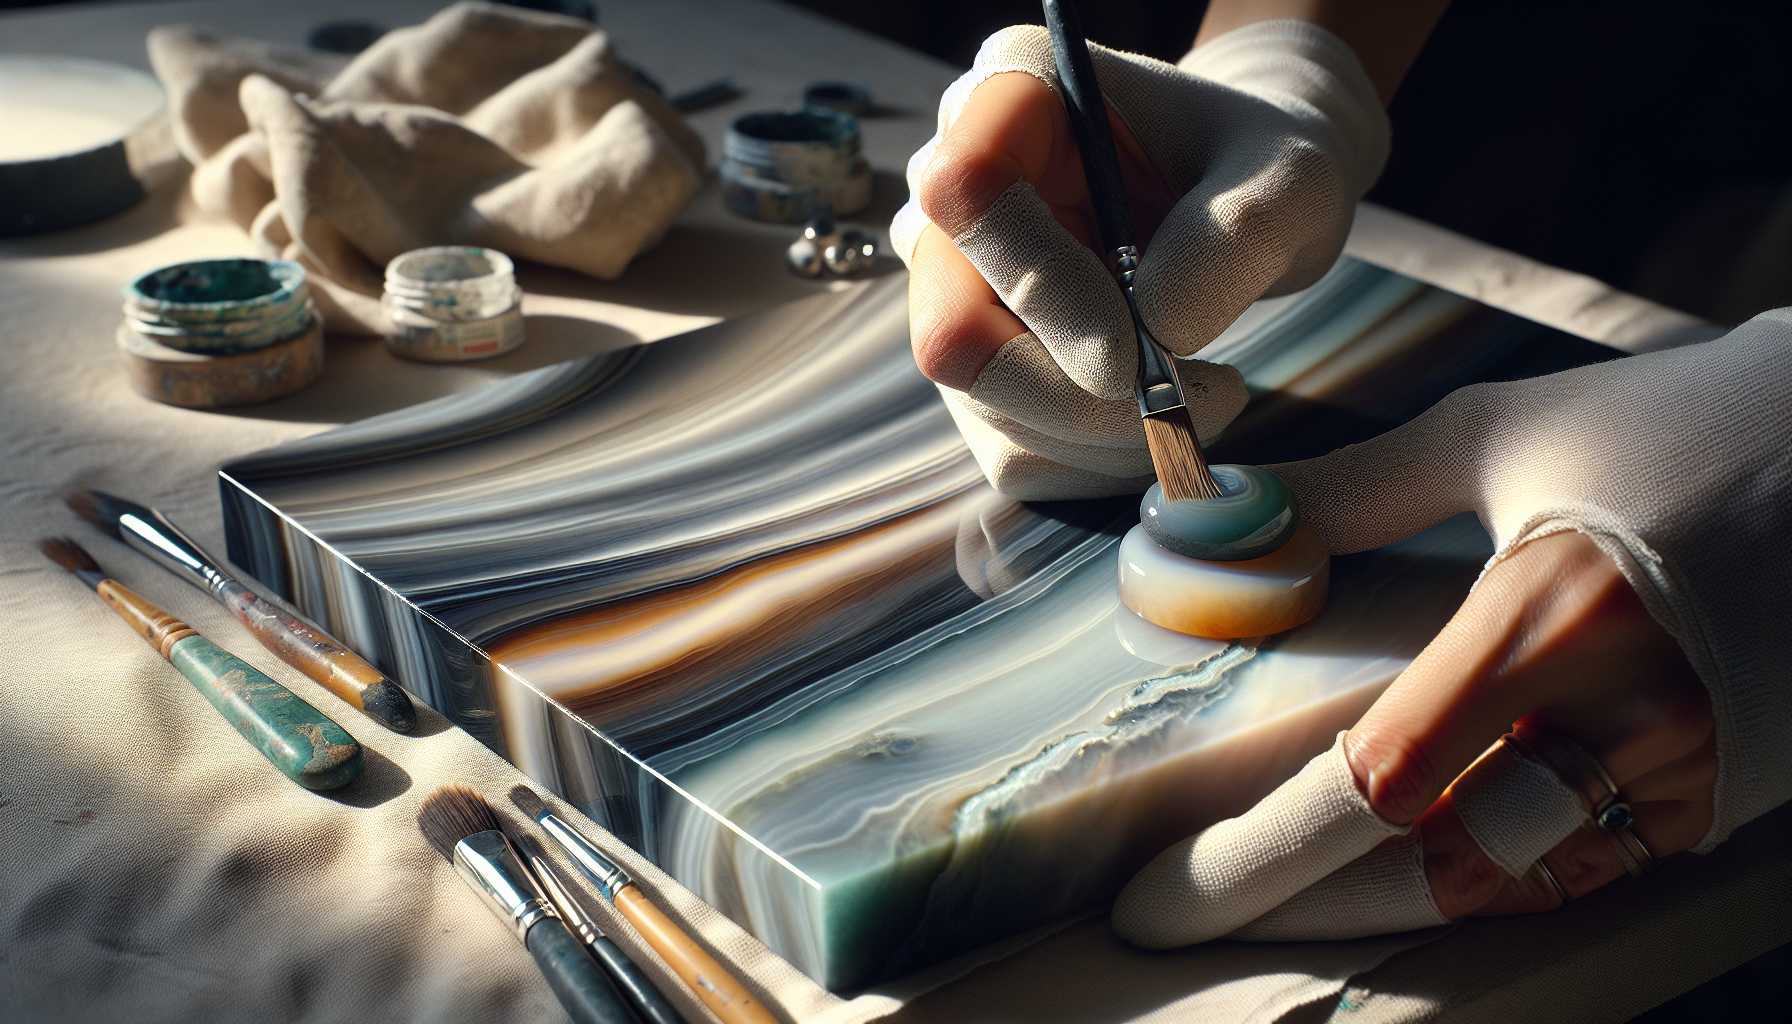
Ever wondered how artists manage to offer their acrylic artwork that tantalizing and glossy finish? Through years of honing my skills, I’ve mastered the art of burnishing, and I’m thrilled to share my insights and secrets with you in this guide.
The Fundamentals of Acrylic Burnishing
Regard burnishing as an elegant and polished makeover given to your artwork – a transformative spa treatment for your painting, if you will. It is an exquisite process where the surface of dried acrylic paint is carefully rubbed to produce a shiny gloss.
Must-have Tools for Burnishing
Here’s a rundown of essential tools you will need for burnishing:
– Burnishing tool or an agate stone
– A clean, soft cloth
– Protective gloves
– Your preferred acrylic painting
Over the years, I have formed a fond attachment to the agate burnisher – it’s proven to be a reliable ally in my artistic endeavors.
Preparing the Surface of Your Artwork
Before we explore the process further, let’s prepare your artwork:
1. First and foremost, your acrylic paint should be thoroughly dry.
2. Gently clean the surface of the artwork.
3. Make sure the space you’re working in is free from dust.
4. Ensure sufficient lighting to clearly visualize your work.
The Mechanics of Burnishing
Allow me to guide you through the magical process of burnishing. Start by applying gentle pressure and follow these distinct steps:
1. Hold the burnishing tool at an incline of 45 degrees.
2. Execute small, carefully controlled, circular motions.
3. Focus and work in sections.
4. Gradually escalate the pressure as you proceed.
5. Regularly keep the surface clean throughout the process.
A word of wisdom: Pay close attention to your artwork’s voice – if you pick up on a squeaking sound, tone down the pressure!
Pitfalls to Dodge During Burnishing
Everyone fumbles occasionally, but here are a handful of common errors I’ve managed to eliminate over time:
– Resist the urge to expedite the process.
– Never attempt to burnish when the paint is wet.
– Do away with irregular pressure.
– Don’t neglect or skimp on cleaning between different sections.
Mastering Various Types of Finishes
Different burnishing techniques can yield a range of unique effects:
– A spectacular high-gloss finish
– A refined satin finish
– Employing the selective burnishing approach
– Creating textured effects
Guideline for Maintaining Burnished Artwork
Preserve your artistic masterpiece by following these guidelines:
– Always store in a dry location.
– Use clean hands when handling.
– Steer clear of direct sunlight.
– Employ the right framing techniques.
Solving Burnishing Issues
Encountering difficulties? Fear not! Here are some effective quick fixes:
– Finding dull spots? Promptly clean and reburnish.
– Notice any scratches? Begin with a softer pressure.
– Experience uneven shine? Try working in smaller consolidated sections.
Parting Thoughts
Bear in mind that attaining the perfect burnishing technique demands persistent practice. Despite my years of experience, I consistently discover new techniques and nuances! Start off small, exhibit patience, and witness your artwork metamorphose into artisanal pieces that exude a professional aura.
In the pursuit of artistic perfection, my fellow artists, have a fulfilling burnishing journey! I’m eager to hear about your individual burnishing experiences in the comments.
