Have you ever marveled at the polish and finesse of some paintings and wondered about the secret? It often lies in professional canvas sizing. Allow me to guide you through the nuances involved in prepping your canvas like a seasoned artist.
Understanding Canvas Sizing
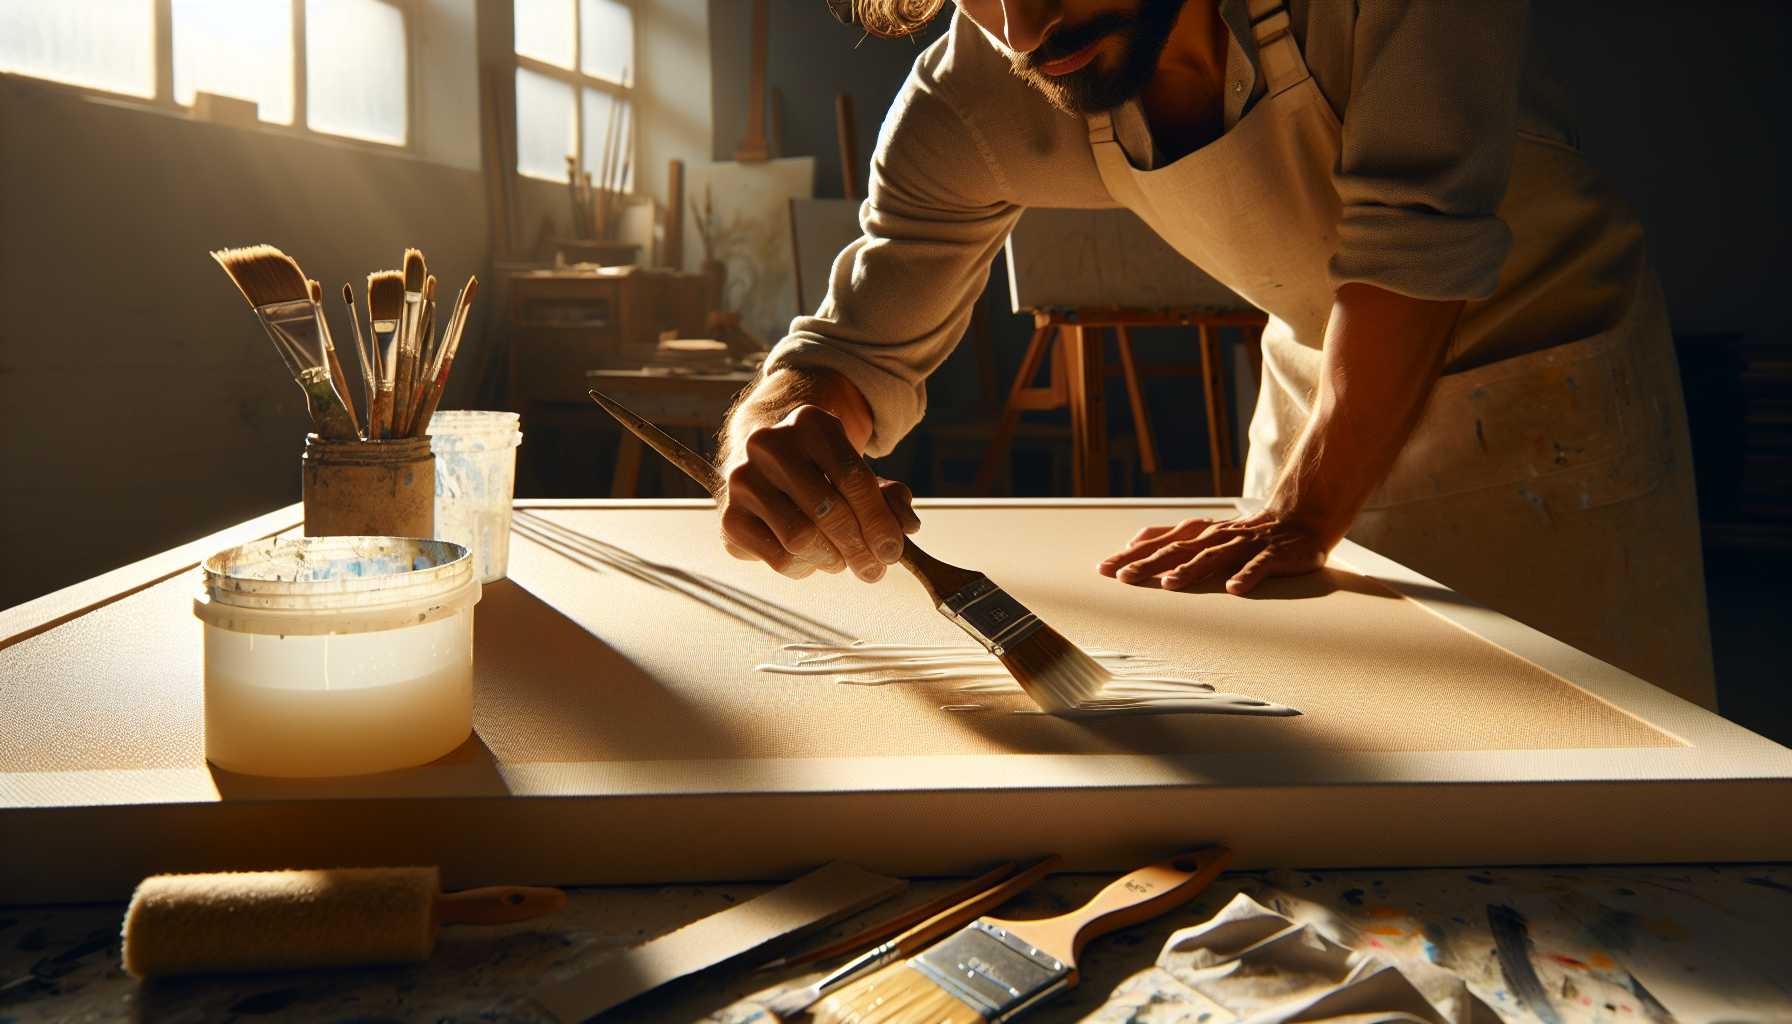
Canvas sizing is the vital primary step in painting, establishing a protective layer between your canvas and your chosen paint. Consider it akin to wrapping your canvas in a protective cloak! The absence of adequate sizing might result in over-absorption of paint by the canvas, leading to its deterioration over time.
Essential Tools for the Task
You’ll need the following:
- Rabbit skin glue or PVA size
- Pure water
- A big brush or foam applicator
- A source of heat (necessary for rabbit skin glue)
- Sandpaper, ideally 220-400 grit
- A clean, spacious workspace
Setting Up Your Workspace
Choose a well-ventilated, dust-free zone to work comfortably. I tend to spread old newspapers – trust me, it makes tidying up a breeze. Additionally, ensure your canvas is stretched just right and dust-free.
The Process of Sizing
Now, for my fail-safe canvas sizing method:
- Soak rabbit skin glue overnight if you plan to use it.
- Heat the mixture gently, ensuring it doesn’t reach boiling point.
- Apply the first coat in horizontal strokes.
- Let this layer dry thoroughly.
- Gently sand the surface between individual coats.
- Apply the second coat in vertical strokes.
- Finish with a light sanding for a flawlessly smooth finish.
Insider Sizing Tips
Decades of sizing submissions have taught me that temperature is key! Maintain your workspace around a comfortable 70°F (21°C) . Early mornings, when humidity levels are generally lower, are ideal for applying size.
Common Pitfalls to Sidestep
Beware of these common sizing mistakes:
- Hurrying between consecutive coats
- Applying an excessive quantity of size
- Neglecting the sanding step
- Working in highly humid conditions
Timing Your Canvas Sizing
Remember, timing is everything. Endeavor to size your canvas at least a day ahead of your painting session. This ensures adequate drying and settling time.
Taking Care of Your Sized Canvas
Once sized, stow your canvas in a clean, dry location. If I’m not using the canvas immediately, I like to drape it with a clean cloth. This practice guards against dust accumulation.