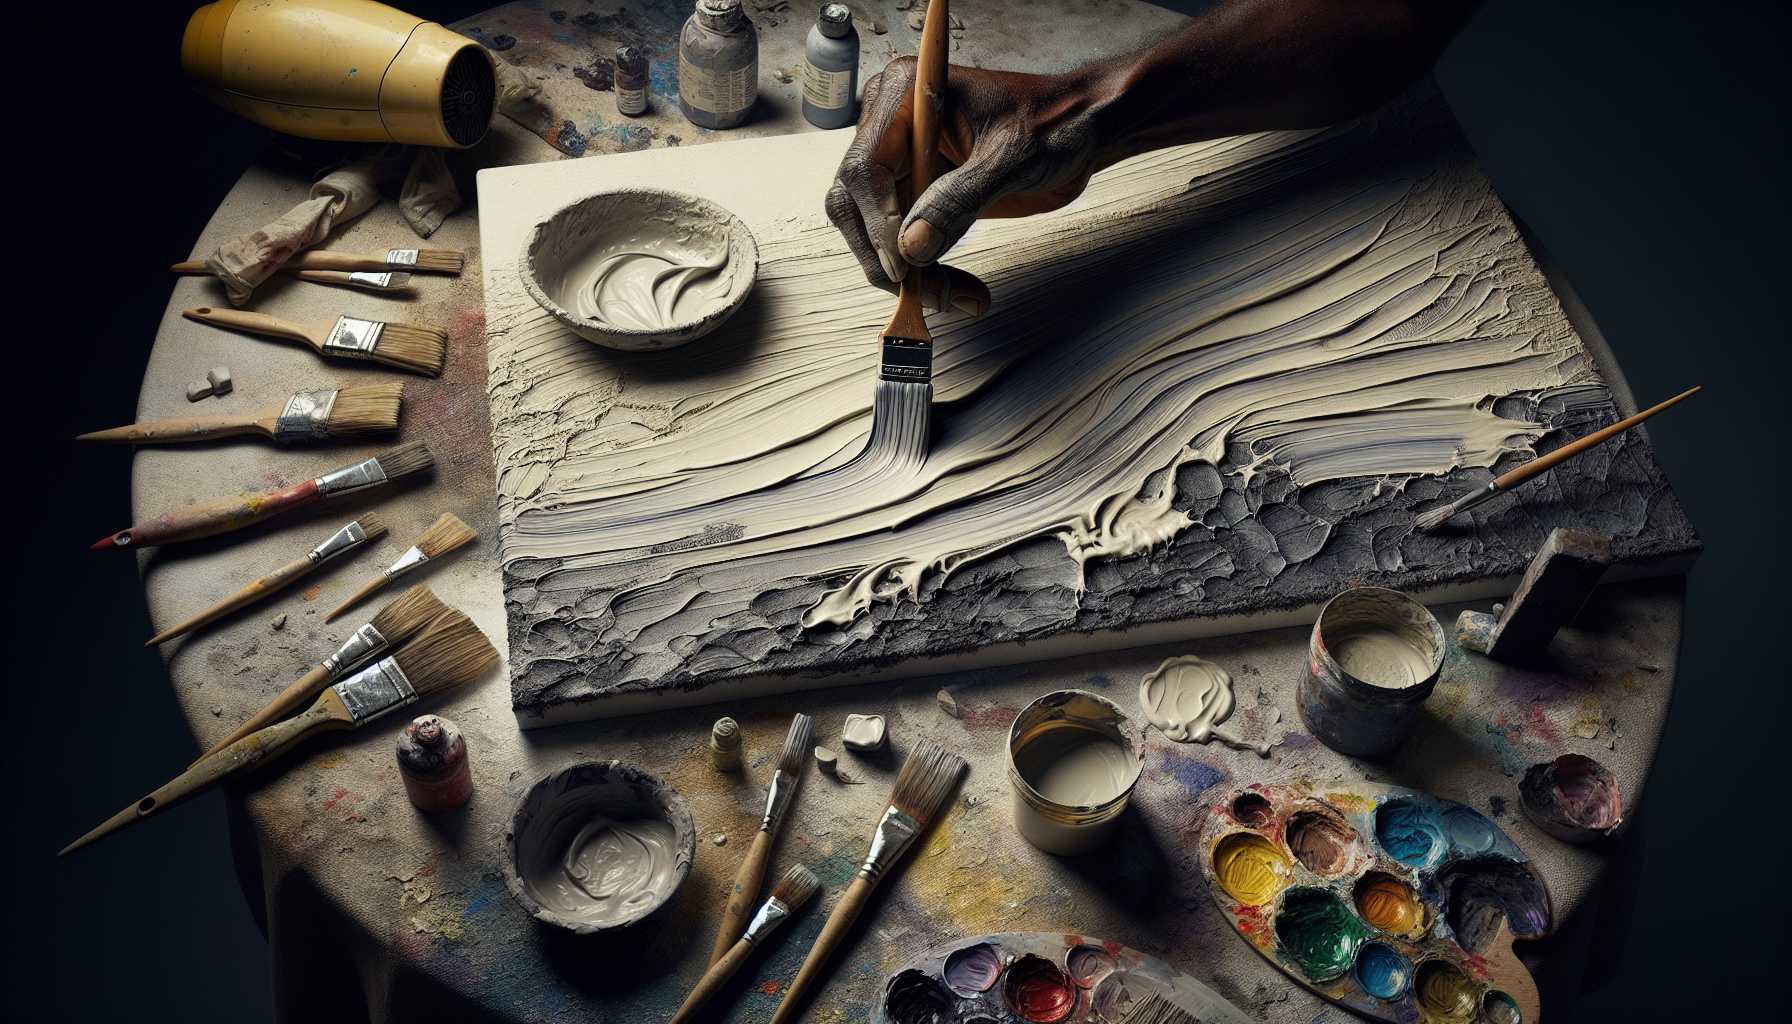
Are you intrigued by the intricate textured effects seen in acrylic paintings? Dive into the remarkable craft of dry layering with acrylic paints!
What does Dry Layering Entail?
Think of dry layering as making a delightful layer cake, only with paint instead of frosting! It’s a method where you layer thin coats of acrylic paint, ensuring each layer thoroughly dries before you put on the next. This technique brings out astonishing depth and texture in your art.
Essential Equipment for Dry Layering
Embarking on this artistic adventure, here are your must-have companions:
– Flat brushes of various sizes
– Paper towels
– A hairdryer (believe it or not!)
– High-quality acrylic paints
– A canvas or board
– A palette knife
Venturing into Dry Layering
Consider your initial layer as the groundwork of a building. Begin with a thin, uniform layer of paint and let it dry completely—this step is critical! To expedite the process, a hairdryer will come in handy.
Constructing Your Layers
This stage is where you bring the magic to life! Apply successive layers gently, using lesser paint than you assume necessary. The goal is to emulate a dry, coarse texture akin to spreading butter on toast – thinly and evenly.
Expert Advice for Impeccable Outcome
- Transition from darker to lighter hues
- Keep your brush reasonably dry
- Do not hasten the drying process
- Explore various brush stroke styles
- Minimal paint can create maximum effects!
Common Pitfalls to Be Wary Of
Everyone is prone to mistakes, and it’s all part of the process! Here are some frequent oversights to be mindful of:
- Overusing water
- Inadequate drying between layers
- Excessive paint application
- Hurrying through the procedure
Incorporating the Last Embellishments
After assembling your layers, step back to evaluate your masterpiece. Seeking more depth? Layer on! Craving more texture? Experiment with a palette knife. The opportunities are infinite!
Why Dry Layering Will Win Your Heart
This procedure is ideal for creating:
– Evocative landscapes
– Textured abstract art pieces
– Portraits with a vintage appeal
– Dimensional still life artworks
Bear in mind, mastery comes with practice! Even if your initial effort doesn’t meet your expectations, don’t lose heart. Keep exploring, and you’ll refine your distinctive style with this adaptable method.
Enjoy your artistic journey, my friends! 🎨
P.S: We encourage you to share your dry layering masterpieces with our community. We’re excited to see your creations!
