Ever been captivated by the intriguing textures found in watercolor artworks and wondered how they’re made? Allow me to let you in on a little artist secret: salt! Surprisingly, that everyday table salt you have in your kitchen can work its magic on a piece of paper.
Required Materials
- High-quality watercolor paper
- Your choice of vibrant watercolor paints
- Various kinds of salt (table salt, kosher salt, rock salt)
- Clean, clear water
- Assorted brushes
- Paper towels
The Magic Behind Salt and Watercolor Interaction
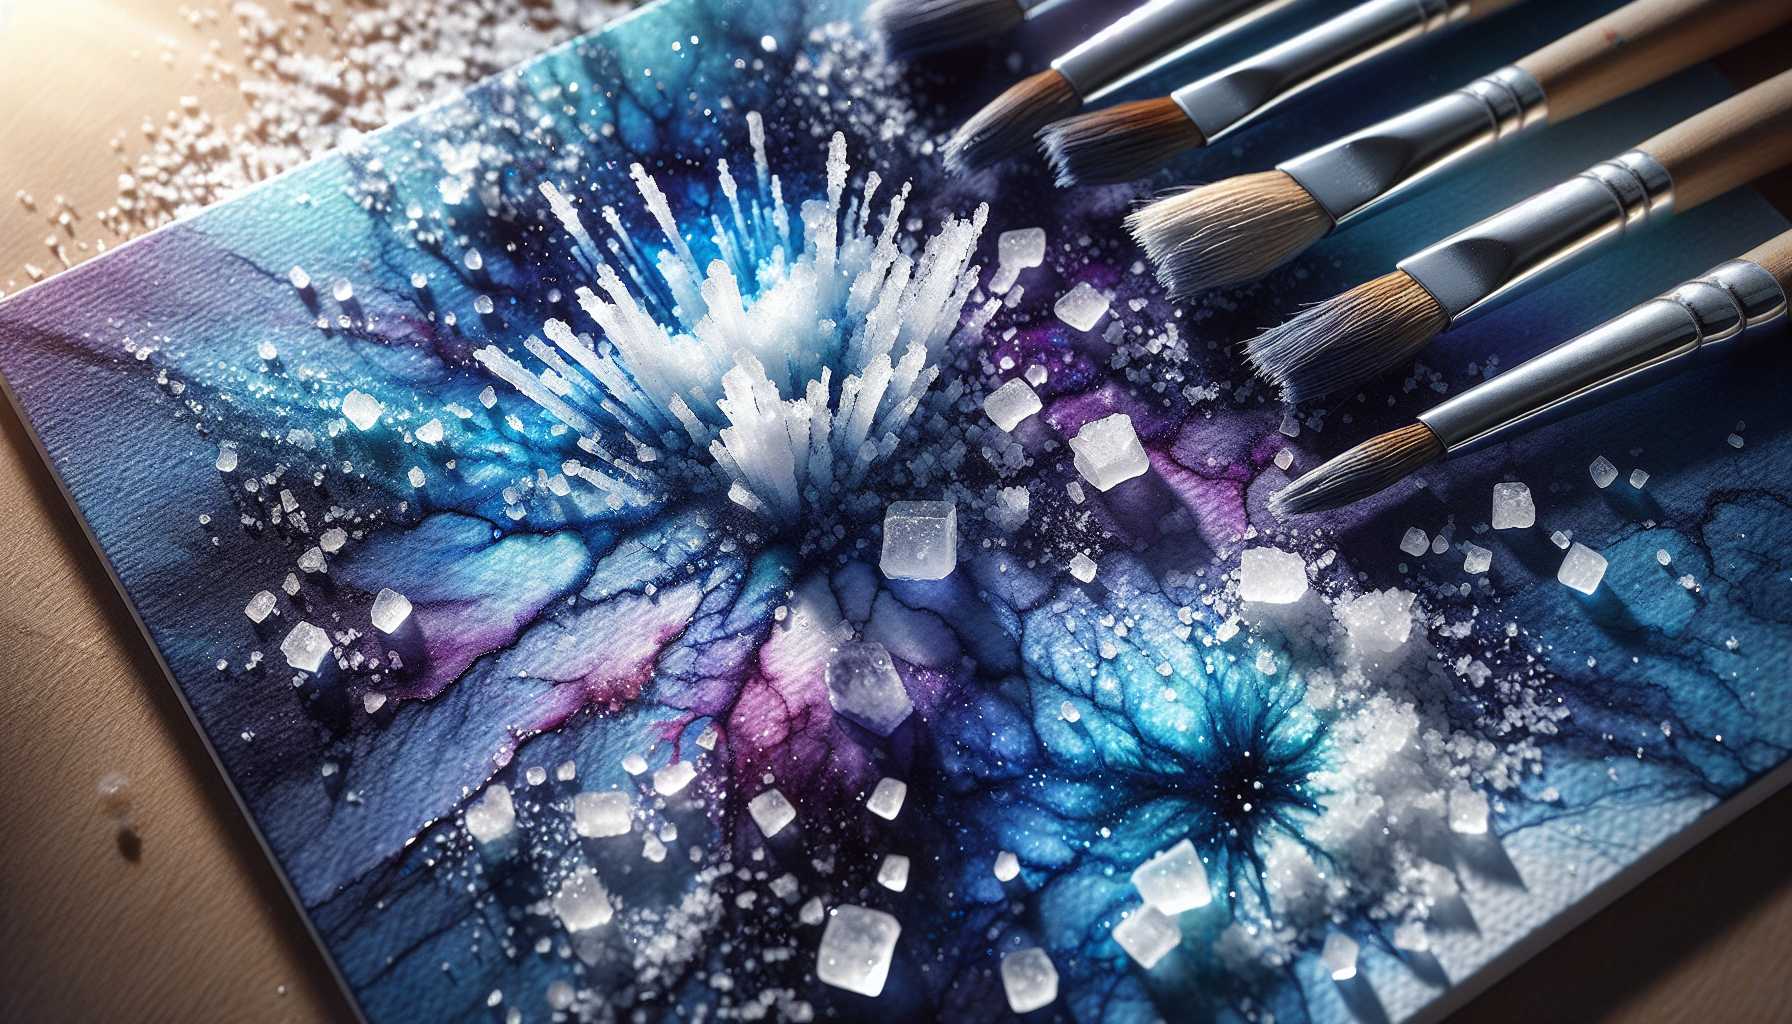
This part is really fascinating – salt behaves like a mini wizard on your artwork! As soon as you scatter it onto the wet paint, it pulls the pigment away from its crystals, producing these gorgeous, starburst patterns. The thrill of witnessing this magic never fades!
Fundamental Salt Method Steps
- Distribute a wash of watercolor onto your paper.
- While the paint is still wet (avoid it pooling), proceed to evenly distribute salt.
- Allow it to dry naturally (remember, patience is key!).
- Gently brush off the dried salt.
Varying Effects of Different Salt Types
I’ve put several types of salt to the test, finding that each one unfailingly creates a distinct pattern:
* Table salt: Resulting in petite, intricate stars.
* Kosher salt: Offering medium-sized, organic patterns.
* Rock salt: Conveying bold, dramatic statements.
Optimal Colors for Salt Techniques
From my personal exploration, these colors have consistently shown exceptional results:
* Deep shades of blue
* Lush purples
* Enchanting forest greens
* Intense reds
The darker the hue, the more your patterns will take center stage!
Common Pitfalls to Sidestep
To help you avoid common setbacks, I’m sharing the errors I’ve made in the past:
* Overdoing the salt (remember, less is often more!)
* Introducing salt when paint is overly wet
* Eliminating salt before it has completely dried
* Attempting to use salt on dry paint (it simply won’t yield results)
Imaginative Applications
Unleash your creativity! Consider using the salt technique to portray:
* Star-filled night skies
* Roaring ocean waves
* Lush tree foliage
* Abstract backdrops
Proven Tips to Excel
After mastering this technique over the years, here are a few insider tips:
* Act swiftly while your paint is still wet
* Have a play with various paper angles
* Try out different paper textures
* Ensure your salt is consistently dry and pure
Expanding Your Technique
Feeling ambitious? Experiment with:
* Blending diverse salt types
* Incorporating colored salt
* Mastering the art of layered effects
* Integrating multiple colors in salt patterns
Remember, the charm of this technique lies in the uniqueness of each piece. Embrace your creativity and be brave enough to find your own rhythm and style. Happy art making!
Are you excited to give this technique a whirl? Share your experiences in the comments section!
*Note of caution: Be mindful of storing your salt-infused artwork, as residual salt crystals may still be found in the paper even after brushing.